
A few months ago, I posted "Infinite Supernova". But when I looked at the comments sections, I felt that while it really looks beautiful and is fun to build but it is time taking (we need to make 50 units before assembling) and people who are new to Origami may find it difficult.
So its time to get to the basic and in this project, I'll be making a mini and easy version of "Infinite Supernova" which requires only 5 units... Yes, you heard it right... and while we are on it, we'll also learn some basic terms used in origami folding.
Things We Need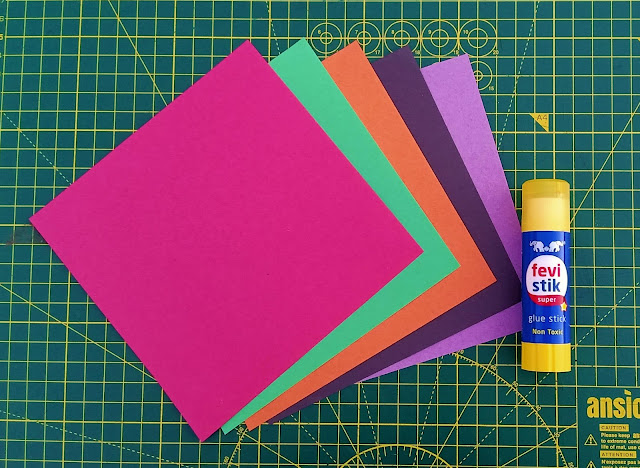

- 5 Origami papers, 15 cm x 15 cm
- Flat surface for folding
- Paper glue
Building Block: Making a Unit (1/3)

- Place the origami paper on a flat surface and fold the square paper vertically in half. Crease it well by sharpening it with a fingernail (Pic 1).
- Now, holding the upper layer, fold it vertically in half like a valley (Pic 2).
This fold is known as Valley Fold because the crease is at the bottom and the paper is folded forward into itself, so that paper makes a "V shape" when unfolded.
- Next, fold the bottom layer backward - vertically in half like a mountain (Pic 3).
This fold is known as Mountain Fold because the crease sits at the top and the paper is folded behind itself, and the paper makes an "inverted V shape" when unfolded.
- Sharpen all the creases nicely with fingernail or gluestick's cap (Pic 4).
- Now, valley fold the strip horizontally in half, crease it well and then unfold it (Pic 5).
Building Block: Making Unit (2/3)

- Valley fold-down the top edge of the strip to the center crease (Pic 1).
- Again, valley fold-down the top edge of the strip to the center crease. Sharpen the crease well and then unfold it (Pic 2).
- Repeat the above two steps for the bottom part (Pic 3 and 4).
- When you are done, you should have a piece of paper that has an indentation going across it every half-inch (Pic 5).
- Now, start at the bottom, by taking the bottom edge in your hands. Fold up to the indentation you made (Pic 6). Flip your rectangle over, so that it is still vertical, but face up. Take the bottom edge (the indentation you just folded) in your hands. Fold it up along the next indentation mark. Continue folding Accordion-style (alternate Valley and Mountain Fold) until you have made 8 folds in the paper (Pic 7 and 8).
Building Block: Making a Unit (3/3)

- Hold-up the edge with 3 layers facing toward you(Pic 1) and separate the layer nicely.
- Now, separate and pinch these layers together to form the letter "W" (Pic 2 and 3).
- Next, flip over this "W" and separate the two layers apart to form the letter "M" (Pic 4 and 5).
Our Unit is ready (Pic 6). We need to make 5 such units for our Mini Infinite Supernova (Pic 7).
Assembly

Glue all the units together. Then arch the strand and glue the ends to make a circle.
That's it. We are done. It's time to play now!
Hold it from the side with both your hands. Move your hand in a downward or upward motion to unfold the inner layers. Adjust your hand as and when needed.
Enjoy as the Supernova as it explodes infinitely.
Comments
Post a Comment