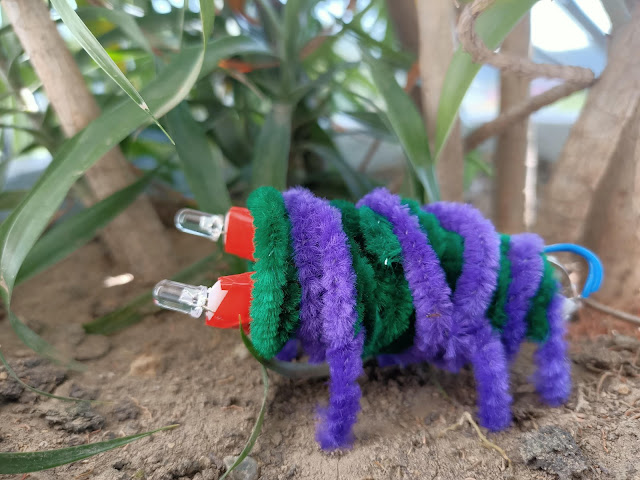
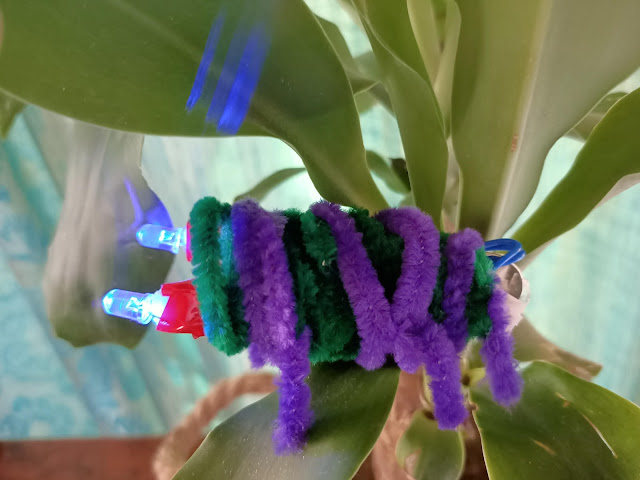
Circuit bugs are a simple and fun way to introduce children to electricity and circuitry and tie them with a STEM-based curriculum. This cute bug incorporates a great fine motor and creative crafting skills, working with electricity and circuits that will keep your kids enthralled and challenged.
Things We Need
1) 2 LED Lights.
2) Insulated PVC coated wire.
3) Batteries – CR2032 3V.
4) Electrical Tape.
5 Clothespins.
6) Pipecleaners/chenille sticks
7) Wirestripper.
8) Plier.
Cut and Remove End to End Coating
If you have a thick wire you can use wire strippers but if you have a thin wire you can cut the wire using scissor. Cut your wire in equal lengths. Cut after measuring the length of the wire equal to the length of the clothespin. It is recommended to cut it a bit long and trim it later to the final length. You want enough length for a good connection but not too much that you raise your risk of circuit interruption. Have students cut their wire into four equal pieces.
Show students how to safely remove the blue PVC coating off the ends of their wires with the wire stripper. Strip both ends of the wire by about 1.5 cm in length.
Terminals of LED
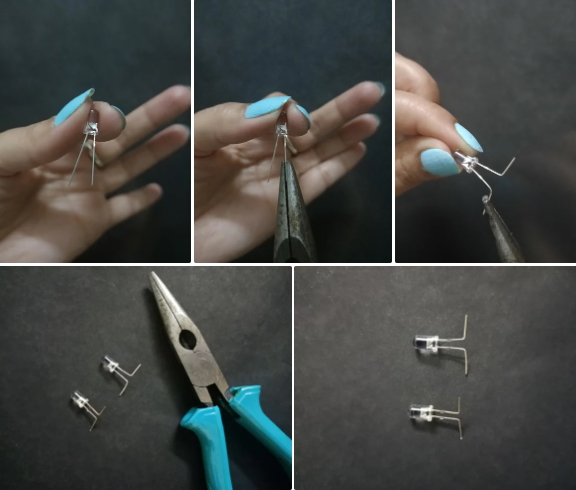
LED stands for Light Emitting Diode. Your Child should have knowledge of the terminals of LED and how it lights up. Before moving to the circuit, start telling your child that "you will notice one leg is longer than the other" The longer one is the positive pin (Anode), and the shorter one is the negative pin (Cathode).
Place one side of the LED on each side of the battery. Does it light up? If not, switch sides. The long “leg” (anode) and the short leg (cathode) only work one way on the battery. Let students experiment to find out which way works.


Comments
Post a Comment