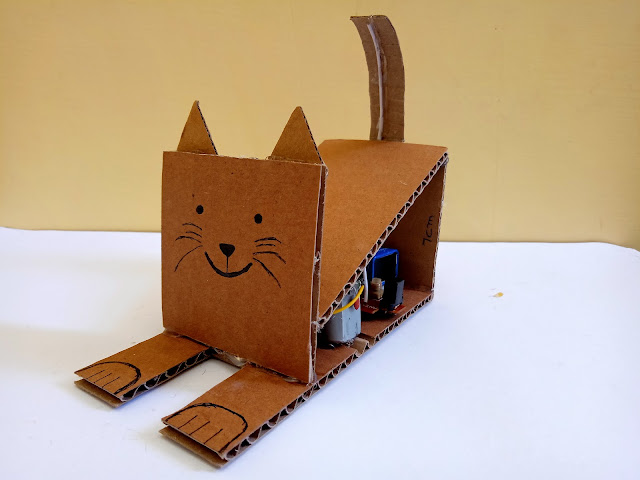
I love collecting old/broken toys. They are like goldmines. During the "maker's session" at my home, These toys are the best way to learn everything, from gears to circuiting.
I like challenging kids with the question "What can you do with this broken toy".
Here, I'm sharing a Remote Controlled Cardboard Cat that I recently finished with my kid. This is really a fun project and takes only 15 minutes to make.
So, Let's Start...
Things We Need:
1) Cardboard pieces
14.5cm*7cm, 11.5cm*7cm and two 7cm*7cm
2) Stationary Knife or Scissor
3) One 9v Battery with cap
4) Hot Glue gun
5) Wireless receiver and transmitter from an old RC toy
6) Two DC motors
Marking and Cutting
Before you glue the motors, place the motor along the slanted side of the wedge. As shown in the picture above, make a mark where the rotating shaft of the motor touches the cardboard. Drill a hole using the tip of the cutter knife. Make sure that shafts of the motors come out from the other side of the cardboard so that the motor shafts makes contact with the ground.
Tip: If your cat isn't moving, Apply a tiny drop of hot glue over the motor shaft to provide friction.
Take the second 7cm*7cm cardboard piece and glue at a 90-degree angle, 4 cms from the front of the cat.
Now, glue the 11.5cm*7cm piece diagonally between the two square pieces.


Comments
Post a Comment